
Pixel animation looks like it should be hard, because every frame is a separate drawing. In practice it is one of the friendliest ways to start animating. The canvas is tiny, a few pixels moving is enough to read as motion, and a loop of four to eight frames can already feel alive.
This is a method that works in any pixel editor, on a phone or a desktop.
Start with a canvas that is too small
Use 16×16 or 32×32 for your first animation. On a small grid you cannot fuss over detail, so you spend your time on what actually sells the motion: the silhouette and how it changes from frame to frame.
A bigger canvas multiplies the work in every frame. If you want to go to 64×64 later, do it once you have finished a few small loops.
Pick something that loops
The easiest first animations repeat forever:
- a flickering flame or candle
- a blinking star or a pulsing light
- a bouncing ball or slime
- a walk cycle, once you are comfortable with the rest
A loop has no ending to design. The last frame only has to flow back into the first.
Draw the key frames first
Do not draw frames in order from start to finish. Draw the extremes first: for a bouncing ball, the highest point and the moment it squashes on the ground. Then fill in the frames between them. If the extremes look right, the in-between frames mostly draw themselves.
Keep everything else in the picture still. If the background does not need to change, copy it into each frame and move only the part that is animated.
Use onion skinning
Onion skinning shows the previous frame as a faint overlay under the one you are drawing. It is the single most useful animation aid, because you can see exactly how far a pixel moved since last time.
Moving one pixel too far reads as a jump; one pixel too few reads as a stutter. With the earlier frame showing through, you can judge this by eye instead of flipping back and forth.
Set the speed
Frame rate changes the feeling of the same drawings. A slow loop of 4 to 8 frames per second has the chunky, deliberate look many people want from pixel art. A faster rate feels smoother but needs more frames to cover the same movement.
Play the loop as you work, not just at the end. Many problems are obvious in motion that you could not see on a single frame.
Export for where it will be seen
- GIF plays on its own in most chat apps and websites, so it is the default for sharing a loop.
- A single PNG is right for one frame, such as a profile picture.
- A sprite sheet puts every frame in one image, which is what game engines usually expect. We cover that here.
- Video suits platforms that do not play GIFs.
Doing it in Pixel Art Animator
Pixel Art Animator is a frame-by-frame editor for iPhone and iPad built around this workflow: a pixel grid, a frame strip under the canvas, and a play button with an adjustable speed from 1 to 30 frames per second.
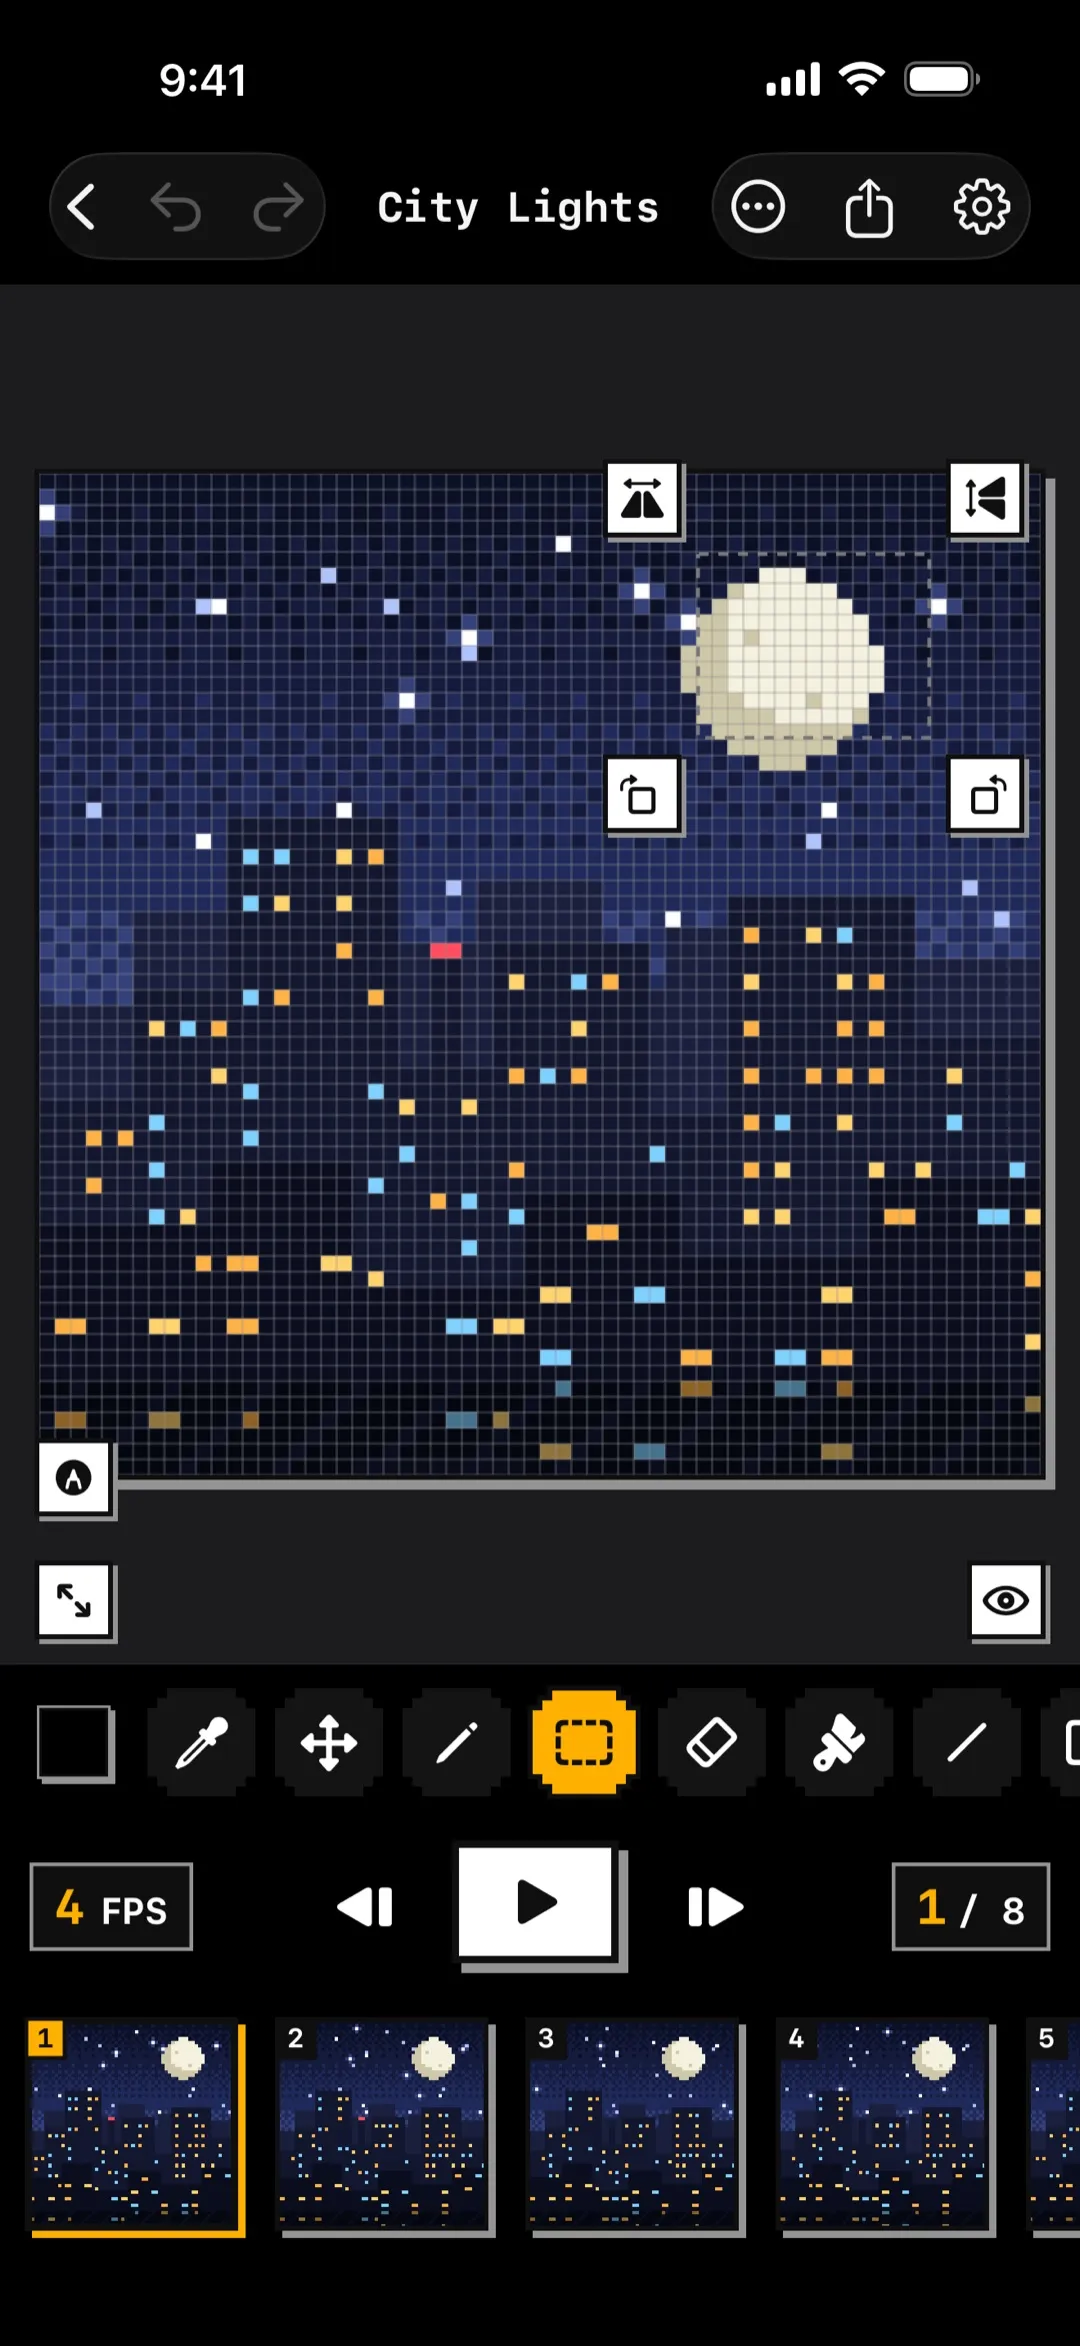
Free gives you Pencil, Eraser, Fill and Eyedropper, 16×16 and 32×32 canvases, onion skin, and GIF and PNG export. Free projects have limits on how many animations and frames you can have, which is enough for a first small loop. Pro, a monthly, annual or lifetime purchase, lifts those limits and adds more tools, larger canvases, an adjustable onion skin opacity, and more export formats. The screenshot shows the editor with Pro tools unlocked.
It works offline with no account, so you can start a loop without signing up for anything.
A first project, start to finish
- Make a 16×16 canvas.
- Draw a flame in its tallest shape on frame one.
- Duplicate it, and reshape the tip slightly on frame two.
- Repeat for four to six frames, ending close to where you began.
- Play it at a low speed and nudge any frame that jumps.
- Export a GIF.
That is a finished animation, and the same steps scale up to a character walking.


