
The small orange date in the corner of a photo is one of the most recognisable marks of old film cameras. It was not a style choice. Many point-and-shoot cameras exposed the date onto the film itself, which is why holiday prints from the nineties still say when and where in the same glowing digits.
Today it is a way to make a photo feel like a memory. Here is how to add one on iPhone, and how to avoid the mistakes that make it look pasted on.
Decide what you want it to say
Before picking a tool, decide the job:
- A real date, on the photo. The honest version: the day (and perhaps time) you took it.
- A mood. A stamp that sets the photo in a time, even if the date is not the point.
If you want the real thing, use the date the photo was actually taken, not the day you edit it.
The built-in way
The Photos app does not burn a date into a picture. You can see it by swiping up on a photo or tapping the info button, but it is metadata, not part of the image.
If you only need the date visible, the simplest route is Markup: open the photo, tap Edit, then the Markup button, and add a text box with the date. Pick an orange or yellow, a monospaced font, and make it small. It works, though you type each date by hand and match the placement every time.
Make it look right
The details are what separate a convincing stamp from a sticker:
- Small. A real stamp is a few millimetres on a print. It should be noticed second, after the picture.
- In a corner, slightly inset. Bottom right is the classic position.
- Warm orange or amber, a little soft. Pure bright red or white reads as a caption.
- Short format. Year, month and day. Adding the time is fine if you like it, but the date alone is the classic.
- Not on every photo. A stamp on a portrait of a face can distract. Use it on trips, evenings and snapshots.
It also helps if the rest of the photo plays along. A date stamp on a crisp, clinical phone photo looks like a caption. On a photo with some grain and warmer colour, it looks like it belongs. Our guide to making photos look like film covers that part.
Doing it in Film Camera
Film Camera for iPhone builds the stamp into the recipe for a roll, so you set it once and every photo on that roll gets it. In the recipe editor, the Date tab lets you choose a style (Classic, Digital or Handwritten), a corner, a format (date only, date and time, or year and month) and the rotation.
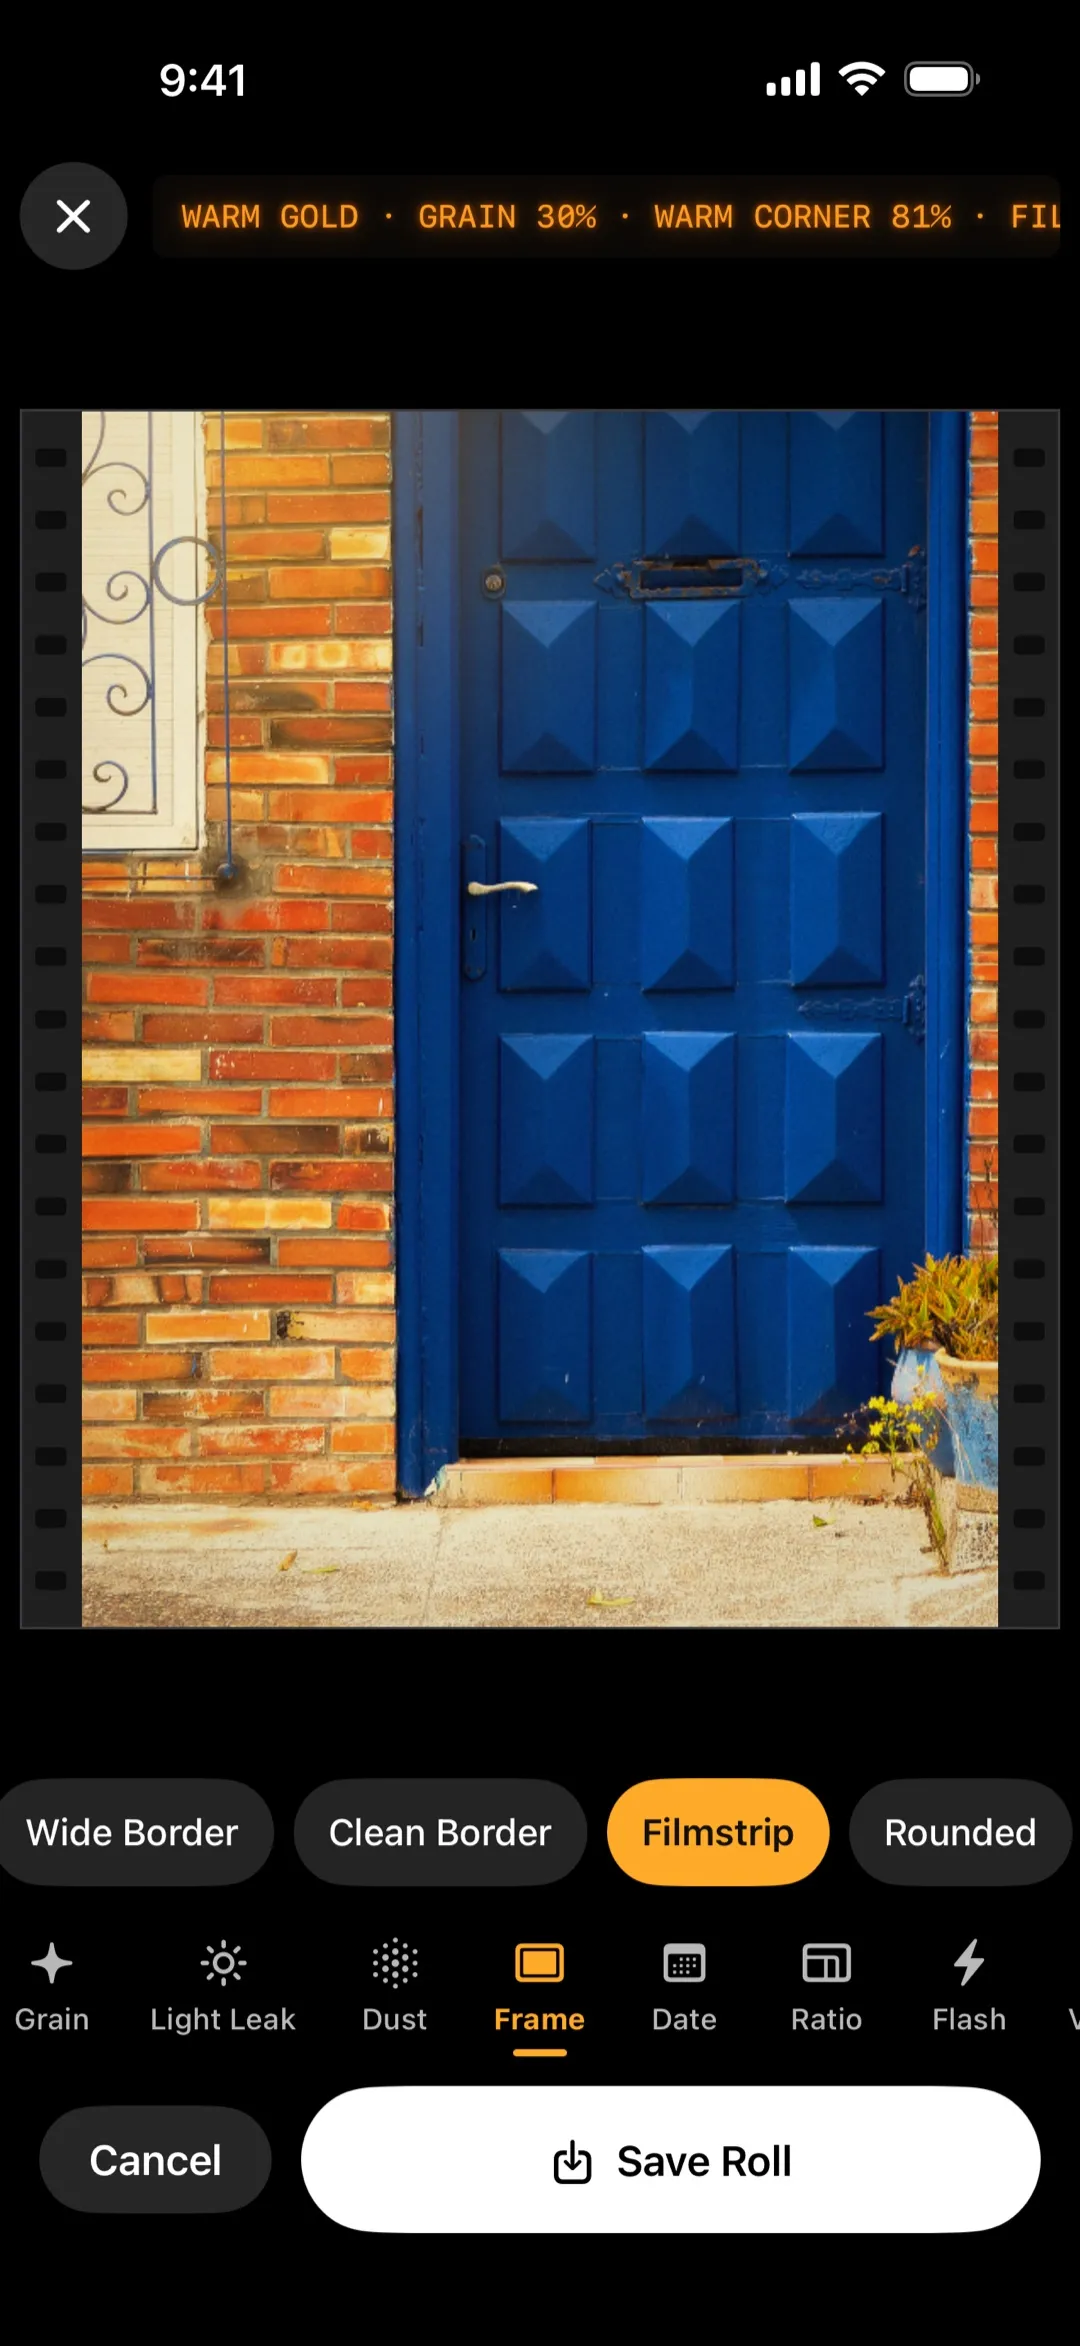
The recipe is previewed live in the viewfinder before you shoot, and because the stamp belongs to the roll, you do not type a date or line anything up.
Adding or editing a date stamp in your own roll is part of the Creative mixer, which is a Pro feature. Free includes three complete film looks, and you can try the Pro controls in the viewfinder before you buy. Pro is a monthly, annual or lifetime purchase. The app works offline, with no account and no ads.
Should you use a stamp at all?
Honestly, not always. A stamp is at its best on travel, family and everyday snapshots, where the date becomes part of the memory. It adds little to a careful portrait or a landscape you want to print large.
A simple test: would a friend flipping through the prints be glad to see the date? If yes, add it. If not, leave the corner clean.
A quick checklist
- Use the capture date, not today’s.
- Keep it small, in a corner, in warm orange.
- Pair it with grain and warmer colour so it fits.
- Use it on photos that are about a moment, not a composition.


