
Screenshots are the easiest way to share something and the easiest way to leak something else along with it. A chat you send to a friend to ask advice shows the other person’s name. A receipt for support shows your card’s last digits and address. Most of the time the leak is not the thing you meant to hide, it is the thing next to it.
Here is a short routine that catches most of it.
Before you capture: crop the problem away
The cheapest redaction is not showing it. Scroll so the sensitive lines are out of frame, close notification banners, and switch off anything that floats over the screen. On iPhone you can screenshot, then open it in Photos and use Edit to crop to just the part you need.
Cropping removes the area from the copy you share, but a crop in Photos can be reverted on your own device, so share the exported copy and cover what is left.
Look for the things people miss
Read the whole image slowly, edge to edge, as if you were a stranger. Check for:
- Names and handles: contact name at the top of a chat, sender names, usernames in a corner.
- Numbers: phone numbers, account and order numbers, card digits, a tracking code on a parcel label, an ID number.
- Addresses and places: a street on a parcel or form, a delivery map, a recognisable shop front or street sign in a photo.
- Status bar and notifications: carrier, time, a banner from another app.
- Faces and reflections: in windows, glasses and screens.
- Document details: barcodes and QR codes can carry the same information as the printed text. Cover them too.
Cover it properly
Use a solid, fully opaque box for text and numbers. Blur and pixelation can look convincing and still leak: researchers have recovered text from pixelated images, and the safe advice from them is black bars. Blur, pixelate or black box goes through why. For a face where casual anonymity is enough, a strong blur is reasonable.
The Markup pen in Photos is not a good redaction tool. A thin stroke leaves gaps at the edges, a translucent colour does not fully hide, and the edit can be reverted in the Photos app on your own device. Share only the exported copy, and check that copy.
Export a flat copy and check it
Save the result as a new image rather than editing the original, then zoom in on the saved copy. Look at each covered area at full size, and look again at the edges of the picture. If you can read anything, cover more.
Remove location and other hidden data
A photo you took with Location Services on the camera carries the place it was taken in its metadata. A screenshot normally does not have that, but a photo of a parcel, a house or a child’s playground does.
Apple’s own steps, from its Personal Safety guide: open the photo in Photos, tap the share button, tap Options, turn off Location, then share. It affects that share only, and the location stays stored on your phone.
Remember that the file name, and anything visible in the picture itself, is still there. Metadata is only one of the ways a photo can point to you.
Doing it in Censor Photo
In Censor Photo you import the screenshot, draw blackout boxes over each string, or use face detection to review faces (text detection is part of Pro), and export a flattened image. Everything happens on your iPhone and nothing is uploaded.
One detail worth knowing, because it differs from what people assume: free exports keep the photo’s metadata, including where it was taken. Pro removes EXIF and GPS data on every save, and you can see the export screen state it. Either way you can use Apple’s Location toggle above for a one-off.
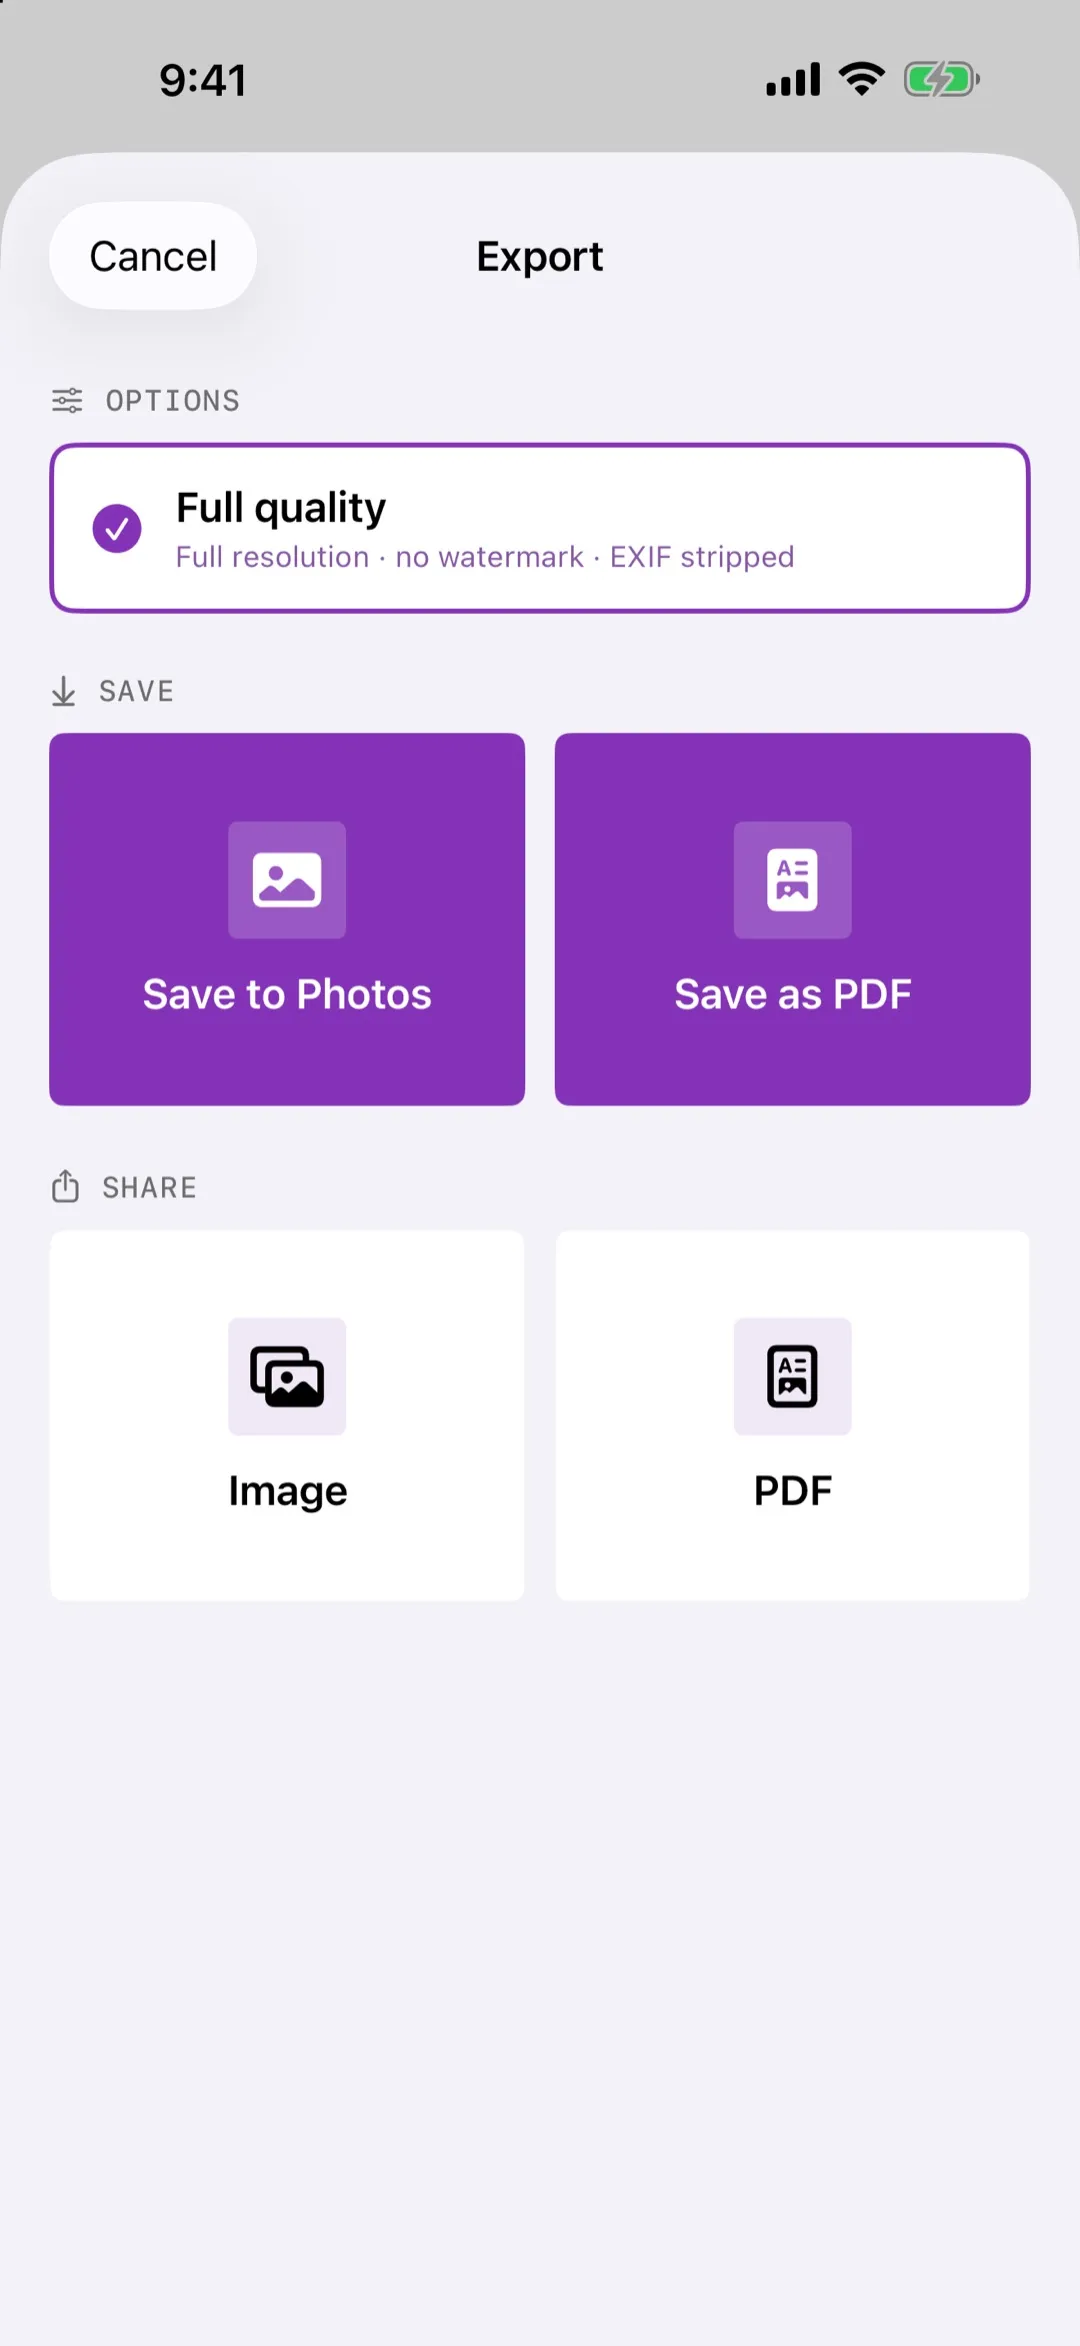
Free use is limited to a few watermarked exports each week, which is enough for the occasional chat or receipt. If you redact often, Pro removes the limit.
One last look
Before you hit send, view the exact file that will be sent, not the editor. If a stranger could work out who, where or which account from it, it is not finished.


