
You do not need a graphics tablet or a desktop program to make pixel art. A phone is a fine place to do it: the canvas is small, a finger is precise enough for a grid of squares, and you can draw in spare minutes.
Here is how to get from nothing to a picture you are happy to share.
Why pixel art is a good way to start drawing
Pixel art takes away many of the things that make drawing intimidating. There are no brush settings, no smooth curves to get right, and no endless detail to chase. You place squares of colour on a grid, and the limit of the grid is the style.
That limit is the appeal. A 16×16 picture of a heart, a mushroom or a small ghost can look charming with very few pixels, and a mistake is one pixel you can fix.
Choose a canvas size
- 16×16 forces you to simplify. Good for icons, items and your first few drawings.
- 32×32 leaves room for a character with a face, or a small scene.
- 64×64 and up is for when you want detail and are happy to spend longer on it.
Start small. It is easier to move up in size than to finish a large picture you lost interest in.
Use few colours
Beginners often use many colours and end up with a muddy picture. Try four to six:
- A dark colour for outlines and deep shadow.
- A base colour for the main surface.
- A lighter shade of that colour for highlights.
- One or two accents, such as an eye colour or a spark.
Shading with a darker and a lighter version of the same colour, rather than black and white, gives objects volume with almost no effort.
Habits that make pixel art look clean
- Avoid jagged lines. For a smooth curve, step the line in even runs, such as two pixels across then one up, rather than random lengths.
- Keep one light direction. If the light comes from the top left, every highlight goes top left.
- Zoom out often. The picture is viewed small. Check how it reads at actual size.
- Outline lightly. A darker shade of the object’s own colour often looks better than a solid black outline.
- Trace or copy to learn. Redrawing a simple sprite you like is a normal way to learn what choices were made.
The tools you actually need
Four tools cover most pixel art: a pencil that places one pixel, an eraser, a fill bucket for flat areas, and an eyedropper to pick up a colour you already used. Everything else is a shortcut.
Drawing on iPhone with Pixel Art Animator
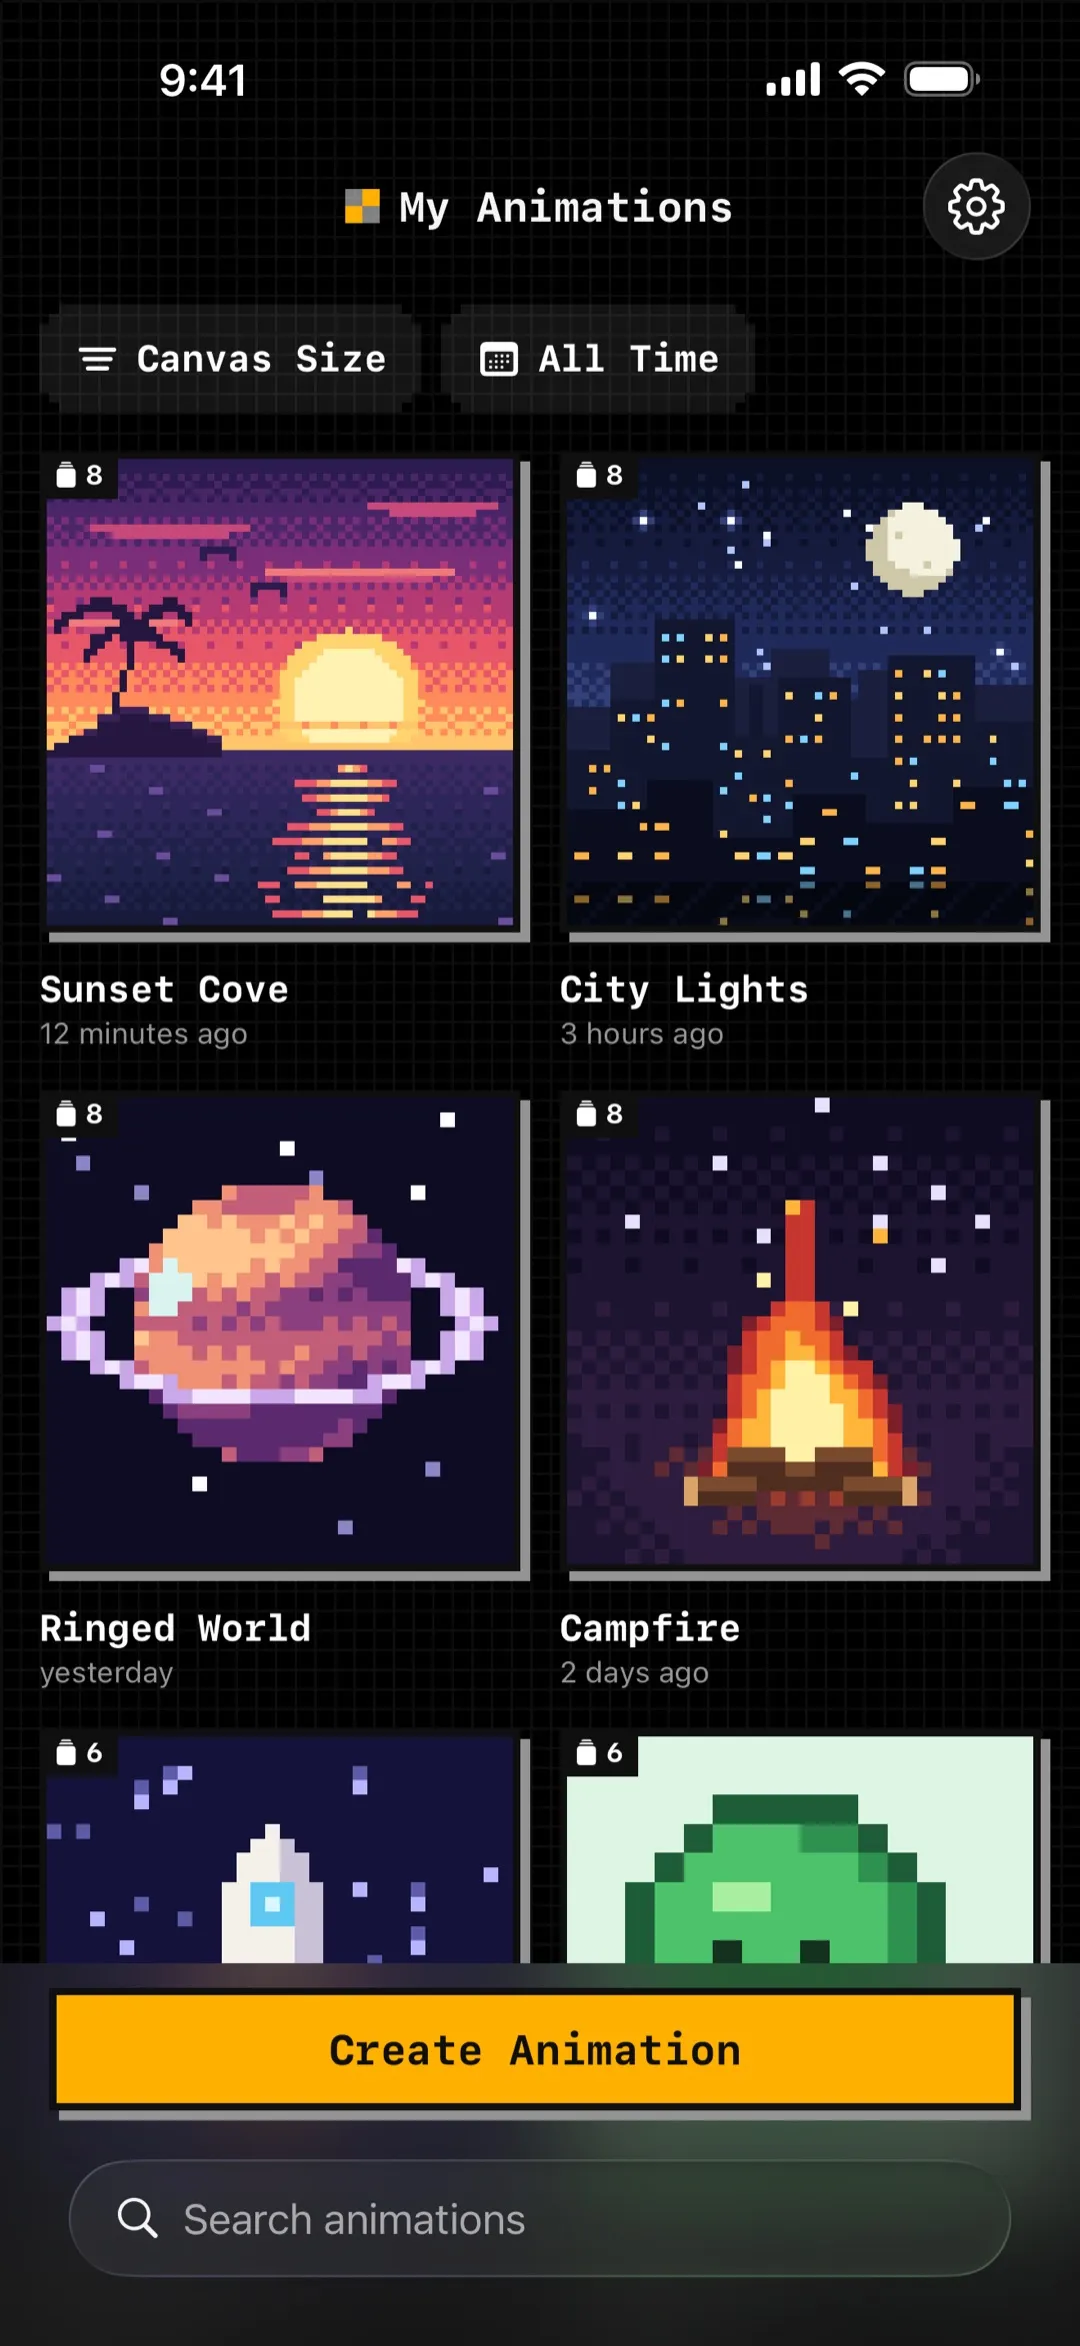
Pixel Art Animator for iPhone and iPad has those four tools in its free version, with 16×16 and 32×32 canvases, so you can follow everything above without paying. It also lets you turn a drawing into a short animation when you are ready: each drawing is a set of frames, and you can play them back and export a GIF.
Pro unlocks more tools (line, rectangle, circle, selection, move and replace colour), larger canvases and more export formats, as a monthly, annual or lifetime purchase. The free version has limits on the number of projects and frames.
There is no account and no ads, and it works offline, so you can draw anywhere.
Share it
Export a PNG for a still picture, or a GIF for anything that moves. If you post a small image, view it at a whole-number scale (2x, 4x, 8x), because uneven stretching blurs the pixels.
Your first three drawings
- A heart or a gem on 16×16, four colours.
- A mushroom or a tree, with a highlight and a shadow.
- A small character, 32×32, then two frames of it blinking.
Do these before you plan something ambitious. They teach the same habits that bigger pieces use.


